The Step-by-Step Process of Safe Tree Felling in Steep Terrain
Felling a tree is never a simple job, but in the mountains of Ellijay, Blue Ridge, and Jasper, the process is even more complex. Slopes, rocky soil, and unpredictable weather create conditions where one wrong cut can send a tree crashing downhill, causing severe property damage — or worse.
At Mario Alonzo Tree Service, every tree removal starts with one guiding principle: safety over everything. Here’s a step-by-step look at how our team approaches safe tree felling in steep terrain.
Step 1: Site Assessment and Hazard Analysis
Before a saw ever touches the trunk, the crew carefully surveys the site:
- Slope angle — Steeper slopes require extra anchoring and rigging.
- Nearby structures — Homes, cabins, decks, or fences must be protected.
- Drop zones — Space is identified for controlled falls or rigged limb lowering.
- Weather conditions — Wet soil or high winds increase risk and may delay the job.
This inspection helps us decide the safest approach for each tree.
Step 2: Establishing a Safety Plan
Once hazards are identified, a detailed plan is made:
- Escape routes are cleared for climbers and saw operators.
- Crew roles are assigned so everyone knows their responsibility.
- Communication signals are reviewed to coordinate each stage.
This step ensures the entire crew works as one unit, reducing risk.
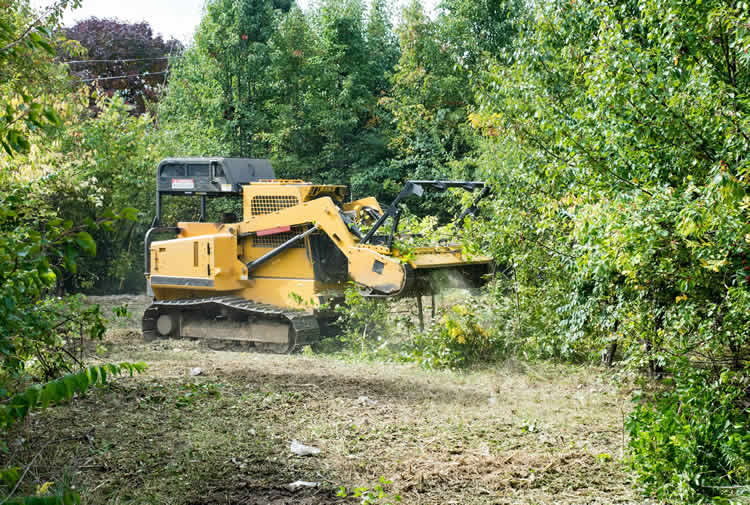
Step 3: Setting Up Equipment
In steep terrain, the right equipment is essential.
- Rigging ropes and pulleys allow controlled lowering of large limbs instead of letting them crash downhill.
- Cranes or lifts may be brought in when space is tight or the tree is dangerously positioned.
- Protective gear — hard hats, climbing harnesses, chainsaw chaps — is mandatory for every crew member.
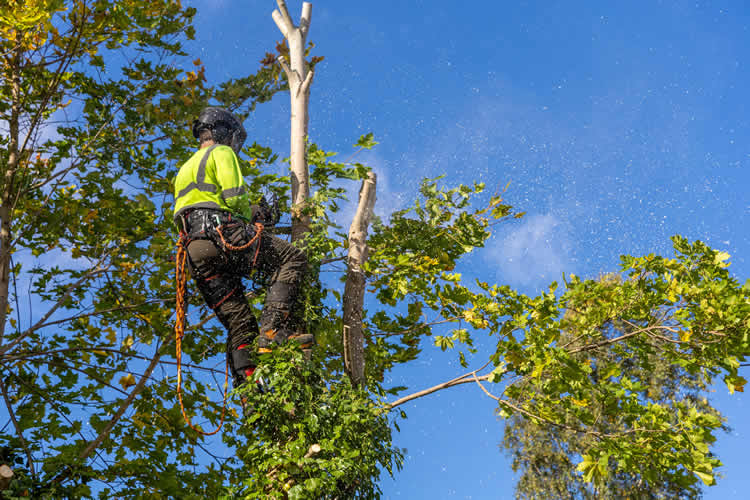
Step 4: Climbing and Limb Removal
For large trees, our climbers ascend the trunk and begin removing branches first. This process:
- Reduces the weight of the tree.
- Prevents branches from snapping unpredictably during felling.
- Creates a clean trunk that’s easier to control.
Each limb is rigged and lowered safely to the ground crew, especially when homes or driveways are nearby.
Step 5: Cutting and Felling the Trunk
With the canopy cleared, it’s time to bring the trunk down. This requires precision:
- A notch cut is made on the side where we want the tree to fall.
- A back cut follows, made carefully to guide the tree in the chosen direction.
- On steep slopes, wedges and ropes are often used to ensure the tree moves exactly where planned.
Controlled direction is critical — gravity wants to pull the tree downhill, but our techniques make sure it lands safely.
Step 6: Ground Support and Monitoring
While the climber or saw operator makes the cut, the ground crew manages ropes, keeps bystanders clear, and monitors stability. Clear communication ensures everyone is safe until the tree is on the ground.
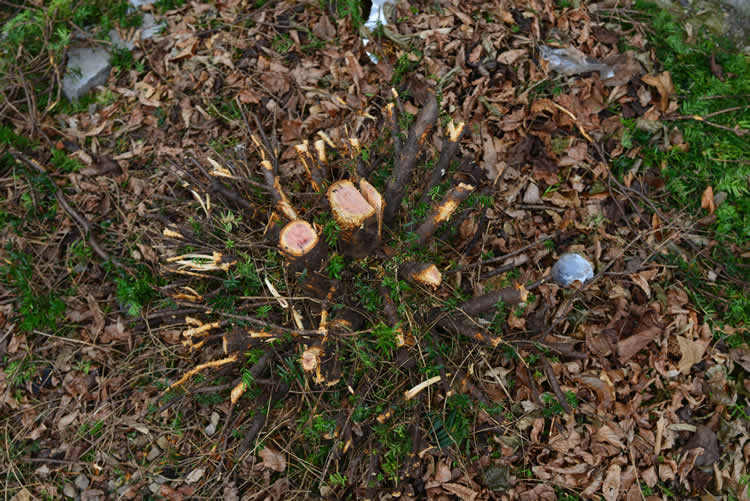
Step 7: Cleanup and Stump Grinding
Once the tree is down, branches are chipped, logs are cut to size, and debris is cleared. For homeowners who don’t want stumps left behind, stump grinding can finish the job, leaving a smooth surface for grass or landscaping.
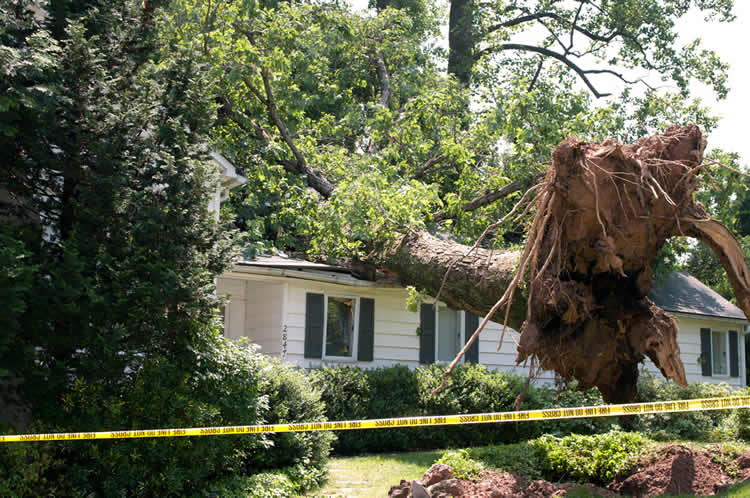
Why Steep Terrain Demands Professionals
DIY tree cutting is dangerous enough on flat ground. On a mountain slope, the risks multiply:
- Logs can roll uncontrollably downhill.
- Chainsaws are harder to control on uneven footing.
- Improper cuts can send a tree falling the wrong way.
That’s why professional experience, proper gear, and teamwork are essential.
👉 Do you need safe tree removal on steep terrain in Ellijay, Blue Ridge, or Jasper? Call Mario Alonzo Tree Service today for a free estimate. With 23 years of experience, we know how to handle even the most challenging mountain removals — safely and professionally.